
1. Уводзіны
This manual provides essential information for the safe and efficient operation of your PowMr 4000W Hybrid Solar Inverter. This device is designed to convert 24VDC battery power into 110/120VAC pure sine wave electricity, integrating a 140A MPPT charge controller for optimal solar energy utilization. It supports various battery types and off-grid system configurations. Please read this manual thoroughly before installation and use, and retain it for future reference.
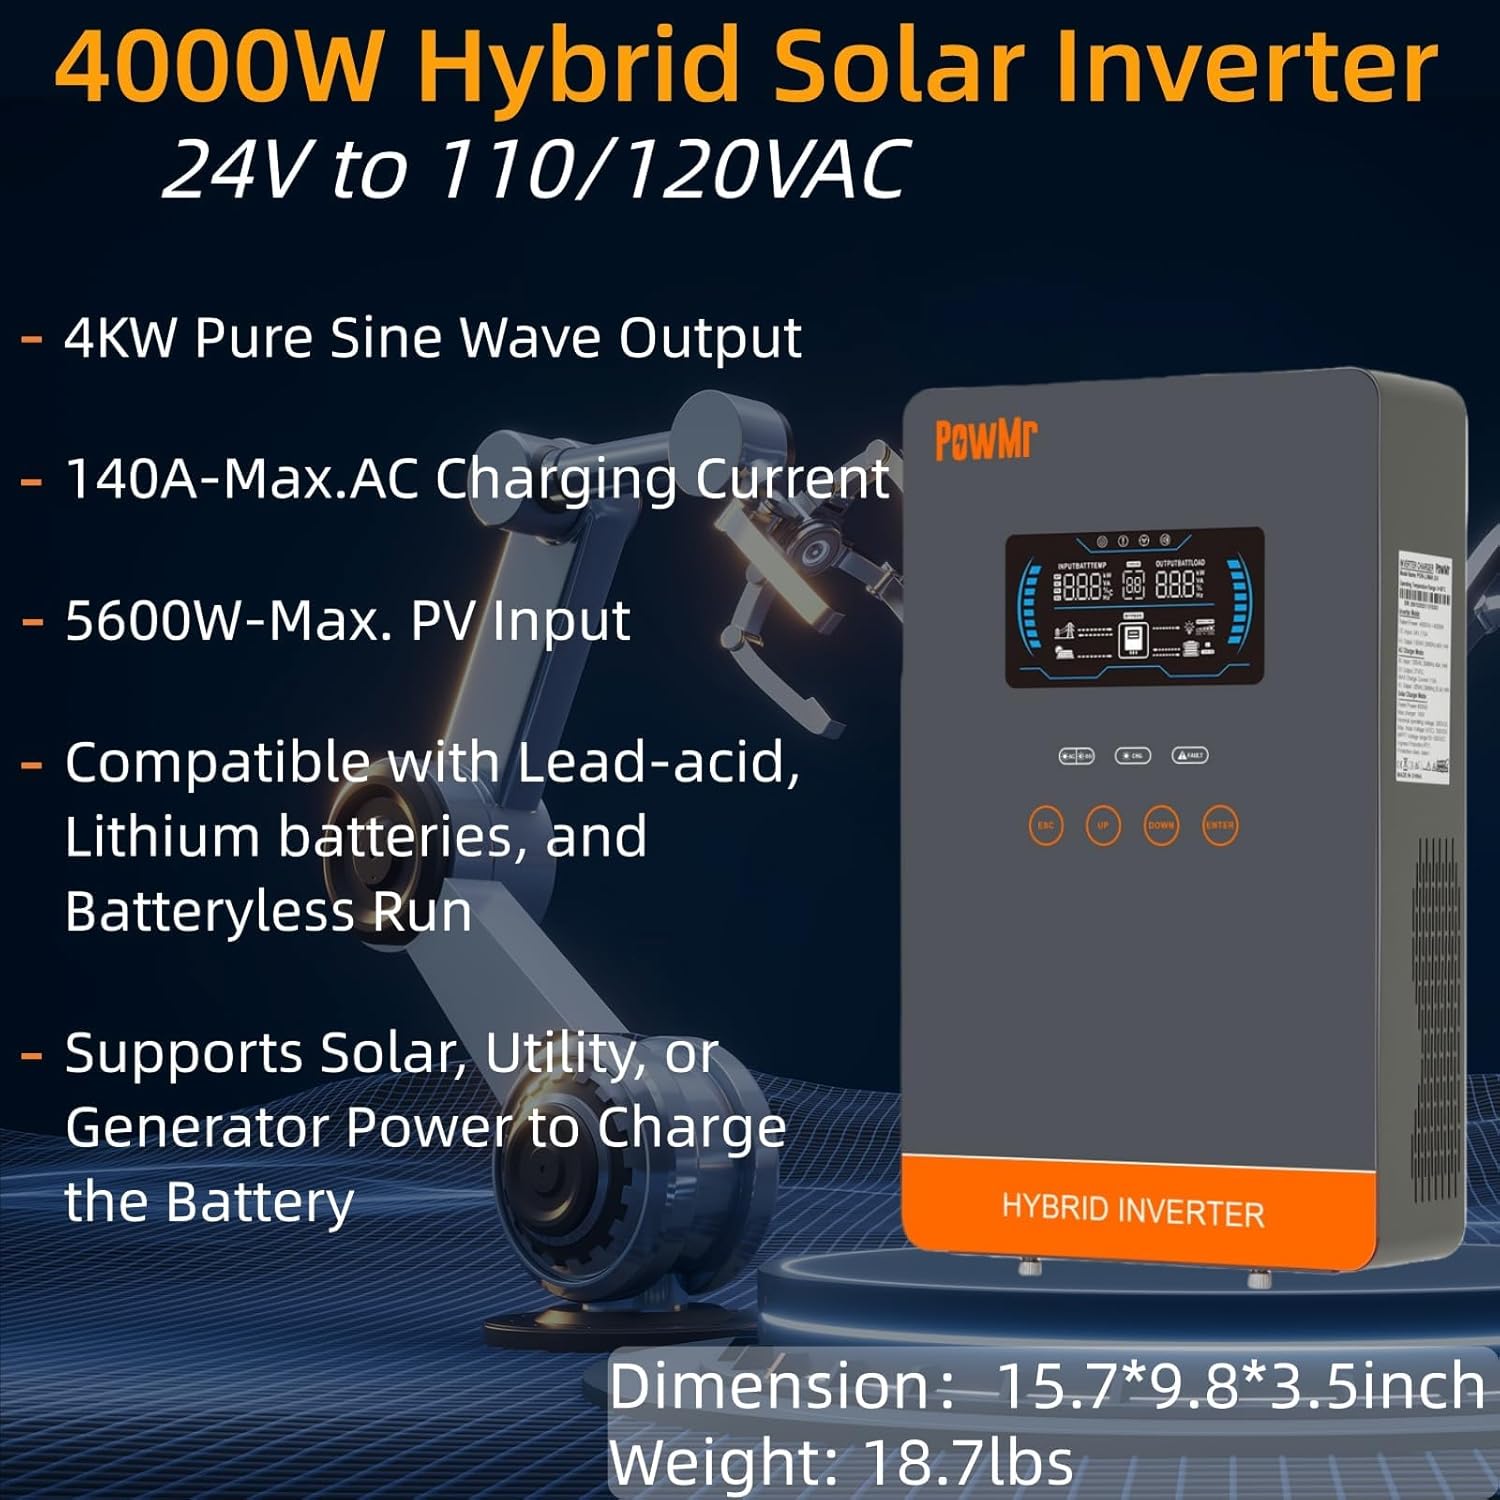
Image: The PowMr 4000W Hybrid Solar Inverter, highlighting its 4KW pure sine wave output, 140A max AC charging current, 5600W max PV input, compatibility with various batteries, and support for solar, utility, or generator power to charge the battery. Dimensions are 15.7"L x 9.8"W x 3.5"H and weight is 18.7lbs.
2. Інструкцыі па тэхніцы бяспекі
Заўсёды выконвайце наступныя меры бяспекі, каб знізіць рызыку паражэння электрычным токам, пажару або траўмаў:
- Мантаж павінен выконвацца кваліфікаваным персаналам.
- Пераканайцеся, што ўся праводка правільнага памеру і належным чынам ізаляваная.
- Не разбірайце інвертар. Унутры няма дэталяў, якія можа абслугоўваць карыстальнік.
- Трымайце інвертар далей ад лёгкаўзгаральных матэрыялаў, вільгаці і прамых сонечных прамянёў.
- Забяспечце дастатковую вентыляцыю вакол інвертара, каб прадухіліць перагрэў.
- Заўсёды адключайце ўсе крыніцы харчавання (фотаэлектрычныя батарэі, акумулятар, пераменны ток) перад выкананнем любога тэхнічнага абслугоўвання або падключэннем электраправодкі.
- Карыстайцеся адпаведнымі сродкамі індывідуальнай абароны (СІА) падчас усталёўкі і тэхнічнага абслугоўвання.
3. Прадукт скончыўсяview
3.1. Асаблівасці
- Выхад чыстай сінусоіды: Забяспечвае стабільнае і чыстае харчаванне, прыдатнае для адчувальнай электронікі.
- Integrated MPPT Charge Controller: 140A MPPT for efficient solar charging.
- Шырокая сумяшчальнасць з батарэямі: Supports AGM, Gel, Lead-acid, Lithium-ion, and LiFePO4 batteries.
- Batteryless Mode: Can power loads directly from PV/AC grid without a connected battery.
- Некалькі рэжымаў зарадкі: Solar Only, Mains Only, Mains & Solar Hybrid.
- Multiple Load Output Modes: Utility Priority, Solar Priority, Solar and SBU Priority.
- Палепшаная абарона: Кароткае замыканне, над выпtagе, пад выпtage, overload, reverse polarity, over-temperature, and backfill protection.
- Зручны інтэрфейс: 6.25-inch LCD screen with touch controls for real-time data display.
- Парты сувязі: RS485 and RS232 for monitoring and control.
3.2. Ідэнтыфікацыя кампанентаў

Image: A detailed diagram of the PowMr Hybrid Solar Inverter, showing its front panel and connection ports. Key components labeled include: 1. LCD display, 2. Status indicator, 3. Charging indicator, 4. Fault indicator, 5. Function touch buttons, 6. On/off switch, 7. AC input, 8. AC output, 9. PV input, 10. Battery input, 11. RS485/RS232 communication port.
3.3. Функцыі абароны

Image: An illustration detailing the comprehensive protection features of the inverter, including Short Circuit Protection, Over-Load Protection, Over Current Protection, Backfill Protection, Over Voltage Protection, Over-Temperature Protection, Under Voltage Protection, and Over Charge Protection.
4. Змесціва ўпакоўкі
Пасля распакавання пераканайцеся, што ўсе прадметы наяўныя і не пашкоджаныя:
- PowMr 4000W Hybrid Solar Inverter
- Інструкцыя па эксплуатацыі (гэты дакумент)
- Communication Cables (if applicable, check packaging)
- Мантажныя прыстасаванні (пры наяўнасці, праверце ўпакоўку)
5. Ўстаноўка і налада
5.1. Мантаж інвертара
Select a suitable location for mounting the inverter. It should be:
- Indoors, protected from direct sunlight, rain, and dust.
- Добра вентыляваная, каб забяспечыць рассейванне цяпла.
- Close to the battery bank to minimize cable length and voltagэлектронная кропля.
- On a solid, non-flammable surface.
5.2. Схема падлучэння
Follow the wiring diagram carefully. Incorrect wiring can cause damage to the inverter, batteries, or connected loads, and may pose a safety hazard.

Image: A comprehensive wiring diagram illustrating connections for PV input, Mains/Generator input, AC output, and Battery input. It specifies voltage ranges, current ratings, and recommended wire gauges for each connection point.
5.3. Падключэнне батарэі
The inverter is compatible with various 24V battery types. Ensure your battery bank matches the inverter's voltagэлектронныя патрабаванні.

Image: An illustration showing the inverter's compatibility with various battery types including AGM, GEL, FLD (Flooded), LI (Lithium-ion), SLD (Sealed Lead-Acid), and USER-defined settings. It also indicates a maximum battery charging current of 140A (utility charging + solar charging).
- Connect the battery cables to the inverter's battery terminals, ensuring correct polarity (positive to positive, negative to negative).
- Надзейна зацягніце ўсе злучэнні.
5.4. PV Array Connection
- Connect the solar panel array to the PV input terminals, observing correct polarity.
- Пераканайцеся, што напружанне ў размыканні фотаэлектрычнага блокаtagэлектрычная магутнасць і электрычная магутнасць адпавядаюць спецыфікацыям інвертара.
5.5. Падключэнне ўваходу/выхаду пераменнага току
- Падключыце электрасетку пераменнага току або генератар да ўваходных клем пераменнага току.
- Connect your AC loads to the AC output terminals.
- Ensure all AC connections are properly grounded.
6. Інструкцыя па эксплуатацыі
6.1. Уключэнне / выключэнне харчавання
- Каб уключыць: Ensure all connections are secure. First, connect the battery, then the PV array, and finally the AC input. Press the On/Off switch.
- Каб выключыць: Disconnect the AC input, then the PV array, and finally the battery. Press the On/Off switch.
6.2. LCD Display and Controls
The LCD screen displays real-time system data. Use the touch buttons to navigate menus and adjust settings.
6.3. Setting Charging and Output Modes
Інвертар прапануе гнуткія рэжымы зарадкі і выхаду, каб задаволіць розныя патрэбы кіравання энергіяй.

Image: An illustration detailing the three charging modes (1. Only Solar, 2. Only Utility, 3. Solar+Utility) and three output modes (1. Utility First, 2. Solar First (default), 3. SBU priority). Steps to set programs are also provided: 1. Long press and hold ENTER button for 3s, 2. Press UP and DOWN to select setting programs, 3. Press ENTER to confirm or ESC to exit.
6.3.1. Рэжымы зарадкі
- Толькі сонечная: Зараджае акумулятары выключна ад сонечных панэляў.
- Толькі асноўныя стравы: Charges batteries exclusively from the AC utility grid or generator.
- Гібрыдны электрычны і сонечны: Prioritizes solar charging, supplementing with AC utility/generator if solar power is insufficient.
6.3.2. Load Output Modes
- Прыярытэт камунальных паслуг: Loads are primarily powered by the AC utility grid. Inverter switches to battery/solar if utility fails.
- Прыярытэт сонечнай энергіі: Loads are primarily powered by solar and battery. Inverter switches to utility if solar/battery power is insufficient.
- Прыярытэт SBU (сонечная энергія-батарэя-камунальная гаспадарка): Loads are primarily powered by solar, then battery, and finally by utility as a last resort.
7. Тэхнічнае абслугоўванне
Рэгулярнае тэхнічнае абслугоўванне забяспечвае аптымальную прадукцыйнасць і даўгавечнасць вашага інвертара.
- Уборка: Periodically clean the inverter's exterior with a dry cloth. Do not use liquid cleaners.
- Вентыляцыя: Ensure cooling fan vents are clear of dust and obstructions. The triple cooling fan design helps dissipate heat efficiently.
- Сувязі: Штогод правярайце ўсе электрычныя злучэнні на герметычнасць і наяўнасць прыкмет карозіі.
- Асяроддзе: Maintain a clean, dry, and well-ventilated environment around the inverter. The dust-proof design helps prevent dust ingress.
8. Выпраўленне непаладак
If you encounter issues, refer to the following common problems and solutions. For persistent issues, contact customer support.
| праблема | Магчымая прычына | Рашэнне |
|---|---|---|
| Інвертар не ўключаецца | Няма падключэння да акумулятара; нізкі ўзровень зараду акумулятараtage; On/Off switch off | Check battery connections; Charge battery; Turn on switch |
| Няма выхаду пераменнага току | Перагрузка; кароткае замыканне; няспраўнасць інвертара | Reduce load; Check for short circuits; Restart inverter |
| Зарадка фотаэлектрычных элементаў не працуе | PV array disconnected; Insufficient sunlight; PV voltagзанадта нізка/высока | Check PV connections; Ensure adequate sunlight; Verify PV array specifications |
| Папярэджанне аб перагрузцы | Connected loads exceed inverter capacity | Disconnect some loads; Ensure total load is within 4000W |
| Папярэджанне аб высокай тэмпературы | Poor ventilation; Ambient temperature too high | Clear vents; Improve airflow; Relocate inverter if necessary |
9. Тэхнічныя характарыстыкі
Technical specifications for the PowMr 4000W Hybrid Solar Inverter:
| Параметр | Каштоўнасць |
|---|---|
| Нумар мадэлі | POW-LVM4K-24V-FBA2 |
| Намінальная выходная магутнасць | 4000 Вт |
| Уваходны кнtagе (пастаянны ток) | 24 В пастаяннага току |
| Выхад Voltagе (пераменны ток) | 110/120 В пераменнага току |
| Форма выхаднога сігналу | Чыстая сінусоід |
| Макс. PV Open Circuit Voltage | 350 В пастаяннага току |
| PV Array MPPT Voltagе далёкасць | 55-350 В пастаяннага току |
| Макс. Уваходная магутнасць PV | 5600 Вт |
| Rated Grid Input Voltage | 110/120 В пераменнага току |
| Max. Hybrid Charging Current (AC+PV) | 140А |
| Сувязь | RS485, RS232 |
| Тып дысплея | ВК |
| Памеры (Д х Ш х У) | 15.7 см Д х 9.8 см Ш х 3.5 см В |
| Вага | 18.7 lbs (approximate, derived from image) |
10. Гарантыя і падтрымка
10.1. Інфармацыя аб гарантыі
The PowMr 4000W Hybrid Solar Inverter comes with an Гарантыя 18 месяцаў from the date of purchase. This warranty covers defects in materials and workmanship under normal use. It does not cover damage caused by improper installation, misuse, accidents, unauthorized modifications, or natural disasters.
10.2. Падтрымка кліентаў
For technical assistance, warranty claims, or any questions regarding your PowMr inverter, please contact PowMr customer support through the retailer's platform or the official PowMr website. Please have your model number (POW-LVM4K-24V-FBA2) and purchase date available when contacting support.