1. Уводзіны
This manual provides essential information for the proper installation, operation, and maintenance of your LC-Power FHD 32 inch 165Hz Curved Gaming Monitor (Model: LC-M32-FHD-165-C-A). Please read this manual thoroughly before using the product to ensure optimal performance and safety.

Малюнак 1.1: Спераду view of the LC-Power 32-inch curved gaming monitor.
2. Інфармацыя па бяспецы
Выконвайце наступныя меры бяспекі, каб прадухіліць пашкоджанне манітора і забяспечыць бяспеку карыстальніка:
- Не падвяргайце манітор уздзеянню дажджу, вільгаці або экстрэмальных тэмператур.
- Забяспечце належную вентыляцыю вакол манітора. Не блакуйце вентыляцыйныя адтуліны.
- Выкарыстоўвайце толькі адаптар сілкавання, які пастаўляецца з маніторам.
- Пазбягайце размяшчэння цяжкіх прадметаў на шнуры сілкавання.
- Disconnect the power cable from the outlet during lightning storms or when unused for extended periods.
- Не спрабуйце рамантаваць манітор самастойна. Звяртайцеся па любыя паслугі па абслугоўванні да кваліфікаванага персаналу.
3. Змесціва ўпакоўкі
Праверце наяўнасць усіх прадметаў у камплекце:
- LC-Power 32 inch Curved Gaming Monitor
- Падстаўка для манітора (аснова і шыя)
- Адаптар харчавання і кабель харчавання
- Кабель HDMI
- Кіраўніцтва карыстальніка
- Шрубы для зборкі падстаўкі
4. Настройка
4.1 Зборка падстаўкі
- Асцярожна выміце манітор з упакоўкі, паклаўшы яго на мяккую паверхню.
- Прымацуйце шыйку падстаўкі да панэлі манітора з дапамогай прадугледжаных шруб.
- Connect the stand base to the stand neck and secure it with the remaining screws.
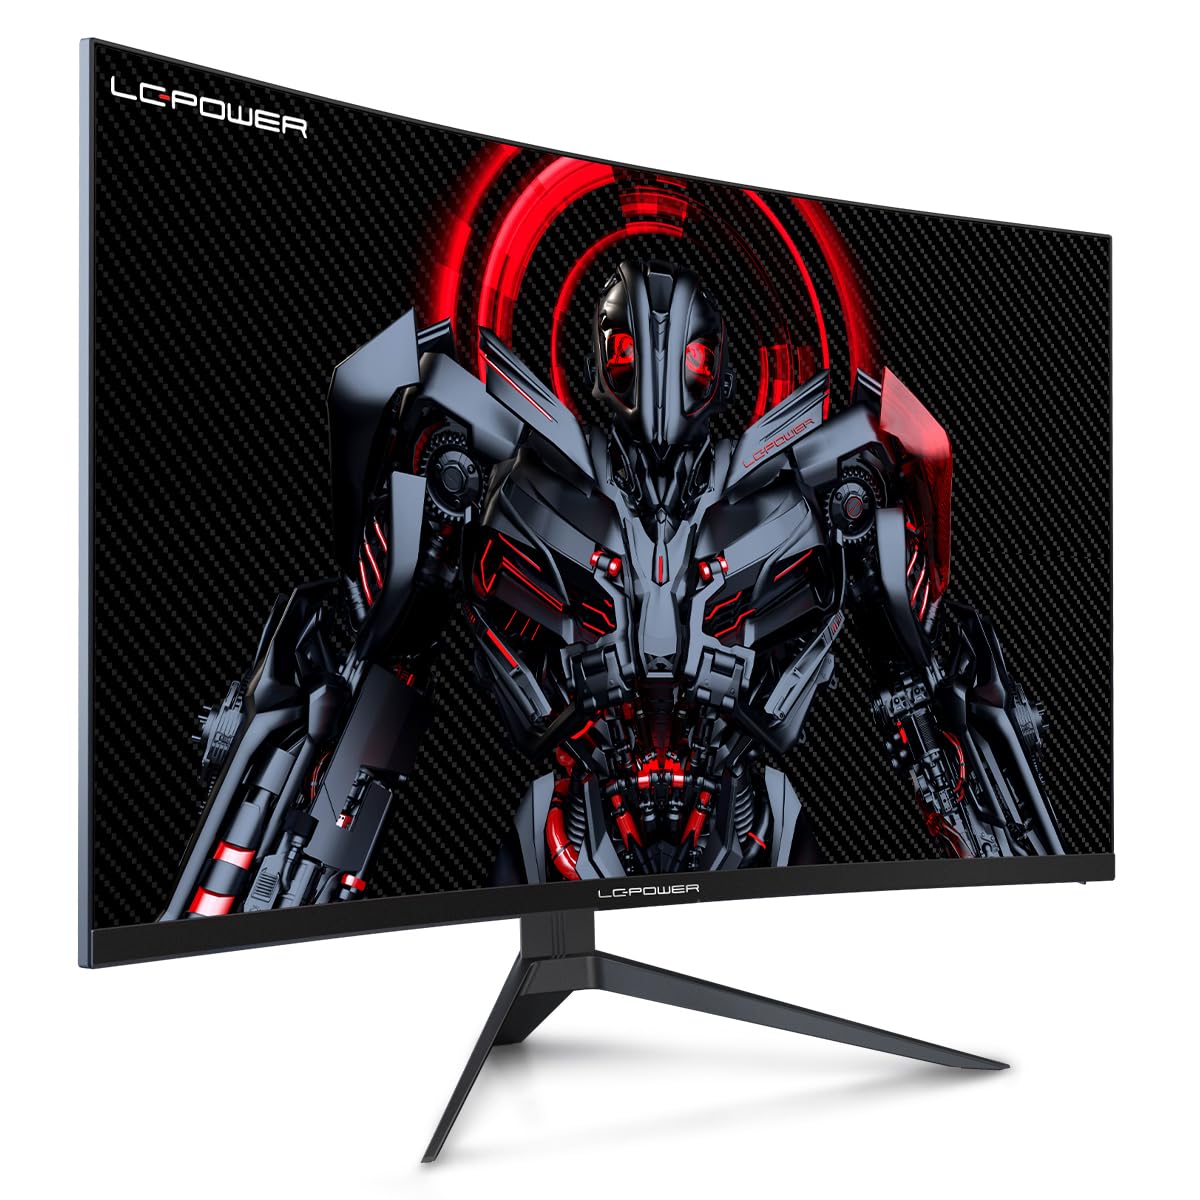
Figure 4.1: LC-Power monitor with stand assembled.
4.2 Злучальныя кабелі
Падключыце неабходныя кабелі да задніх партоў манітора:
- Магутнасць: Падключыце адаптар сілкавання да ўваходу пастаяннага току манітора, а затым да разеткі.
- Відэа ўваход: Connect an HDMI or DisplayPort cable from your computer's graphics card to the corresponding port on the monitor.

Малюнак 4.2: Задняя частка view манітора з уваходнымі портамі.
4.3 Мацаванне VESA (дадаткова)
The monitor supports VESA 100x100mm mounting. To use a VESA mount, remove the stand and attach the monitor to a compatible VESA bracket using appropriate screws (not included).
5. Інструкцыя па эксплуатацыі
5.1 Уключэнне/выключэнне сілкавання
Press the power button, typically located on the back or bottom of the monitor, to turn the monitor on or off. The power indicator light will illuminate when the monitor is on.
5.2 Экраннае меню (OSD).
The OSD menu allows you to adjust various monitor settings. Use the control buttons (joystick or individual buttons) on the monitor to navigate the menu.
Агульныя налады экраннага меню:
- Налады малюнка: Адрэгулюйце яркасць, кантраснасць, рэзкасць і каляровую тэмпературу.
- Выбар уводу: Ручное пераключэнне паміж уваходамі HDMI і DisplayPort.
- Аўдыё: Adjust volume if external speakers are connected via the monitor's audio output.
- Налады гульні: Access features like Overdrive, GamePlus (crosshair overlays), FPS/RTS modes, and Adaptive Sync.
- Налады дысплея: Adjust aspect ratio, resolution, and refresh rate. Ensure your graphics card is configured to output 1920x1080 resolution at 165Hz for optimal performance.
- Low Blue Light & Flicker-Free: These features are designed to reduce eye strain during prolonged use. They can be enabled or disabled in the OSD menu.
6. Тэхнічнае абслугоўванне
6.1 Чыстка манітора
- Перад чысткай заўсёды адключайце манітор ад сеткі.
- Выкарыстоўвайце мяккую безворсовую тканіну, злёгку dampвадой або мяккім неабразіўным ачышчальнікам для экранаў.
- Не распыляйце ачышчальнік непасрэдна на экран.
- Avoid using benzene, thinner, or ammonia-based cleaners.
6.2 Захоўванне
If storing the monitor for an extended period, disconnect all cables, pack it in its original packaging, and store it in a cool, dry place away from direct sunlight.
7. Выпраўленне непаладак
Звярніцеся да наступнай табліцы, каб азнаёміцца з распаўсюджанымі праблемамі і іх рашэннямі:
| праблема | Магчымая прычына | Рашэнне |
|---|---|---|
| Няма выявы на экране | Power cable disconnected; Video cable disconnected; Incorrect input selected | Check power and video cable connections; Select correct input via OSD menu |
| Мігценне выявы | Faulty video cable; Graphics card driver issue; Refresh rate mismatch | Replace video cable; Update graphics drivers; Set refresh rate to 165Hz in OS display settings |
| Колеры адлюстроўваюцца няправільна | Color settings in OSD; Graphics card settings | Adjust color settings in OSD; Calibrate colors via graphics card control panel |
| Манітор не ўключаецца | Power cable not connected; Power adapter faulty | Ensure power cable is securely connected; Test power outlet; Contact support if adapter is suspected faulty |
8. Тэхнічныя характарыстыкі
Detailed technical specifications for the LC-Power LC-M32-FHD-165-C-A monitor:
| Асаблівасць | Спецыфікацыя |
|---|---|
| Марка | LC-Power |
| мадэль | LC-M32-FHD-165-CA |
| Памер экрана | 32 цалі |
| Дазвол экрана | 1920 x 1080 (FHD 1080p) |
| Частата абнаўлення | 165 Гц |
| Час водгуку | 1 мілісекунда |
| Скрыўленне | 1500р |
| Суадносіны бакоў | 16:9 |
| Тэхналогія адлюстравання | ВК |
| Viewing кут | 178 градусаў |
| Абсталяванне інтэрфейсу | HDMI, DisplayPort |
| Асаблівасці | Curved, Flicker-Free, Low Blue Light, GamePlus, Overdrive, FPS/RTS |
| Сумяшчальнасць VESA | 100х100 мм |
| Памеры прадукту | 14.3 x 53.8 x 40.6 см (Д x Ш x У) |
| Вага прадмета | 8.24 кг |
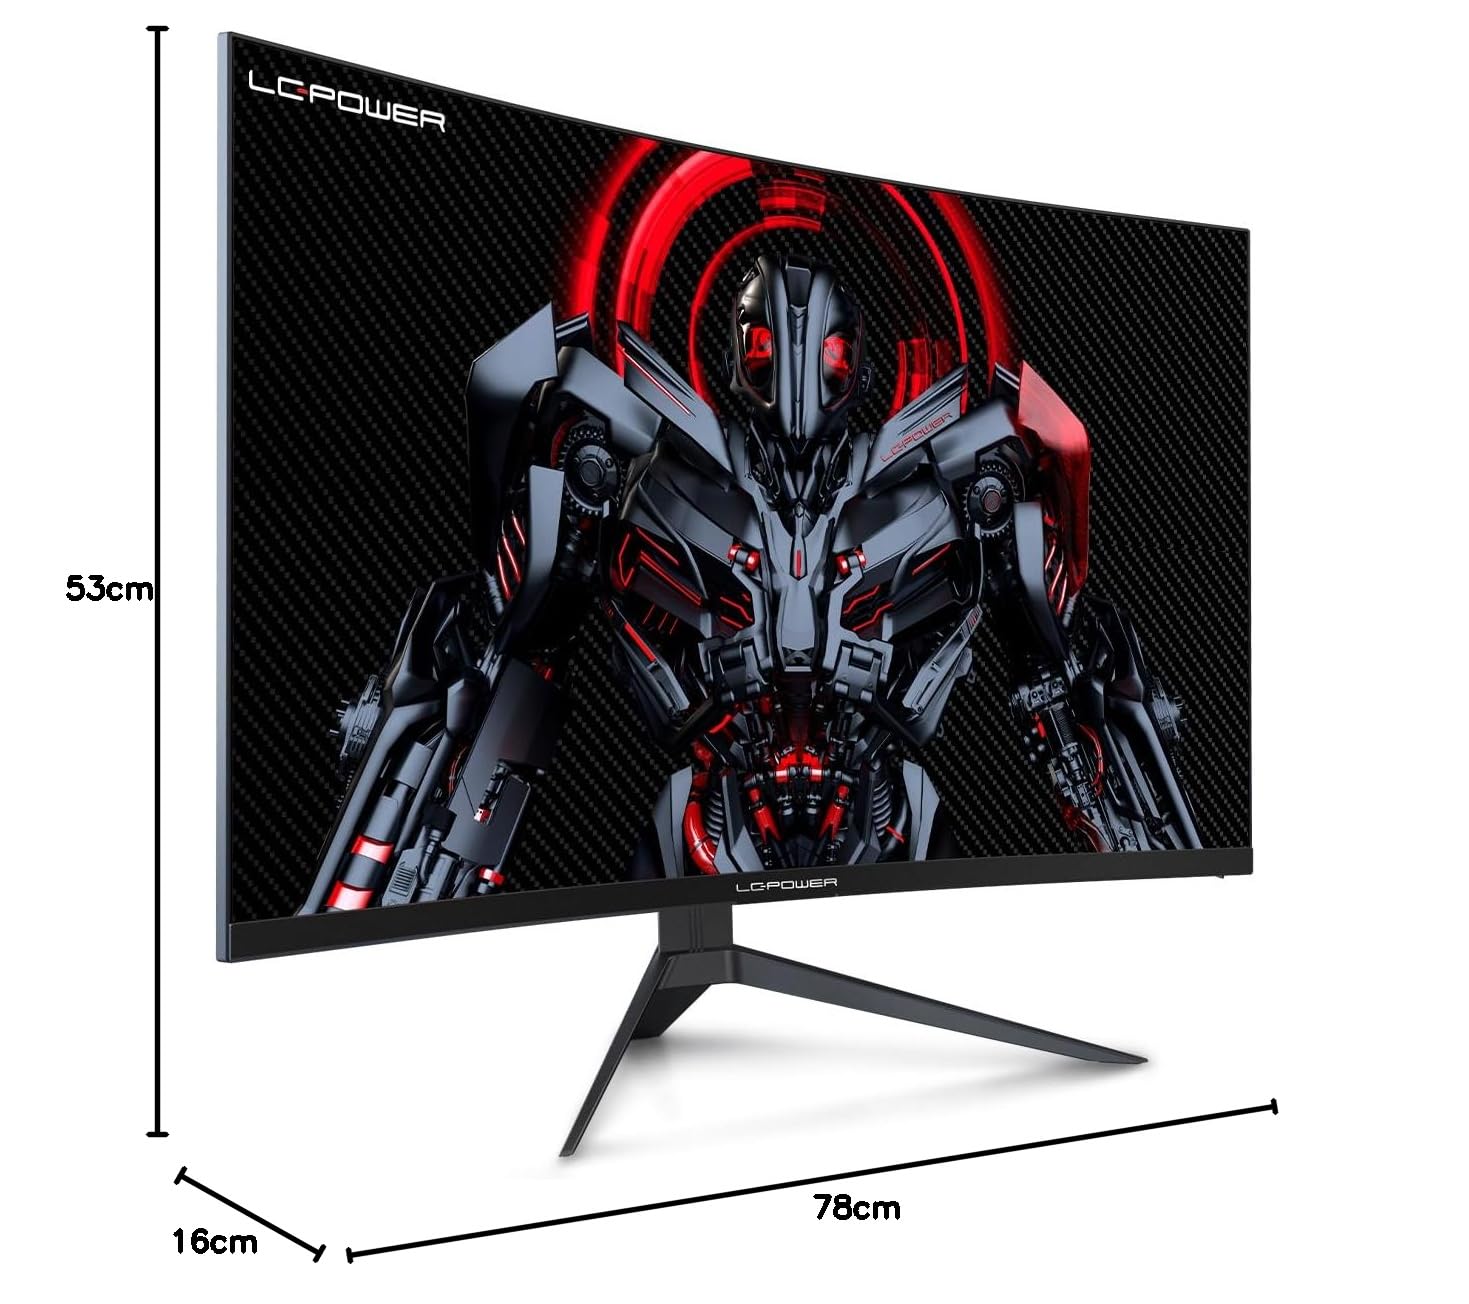
Figure 8.1: Monitor dimensions for planning installation space.
9. Гарантыя і падтрымка
LC-Power provides a three-year warranty for this product. Additionally, a twelve-month replacement service is available. For technical assistance or inquiries regarding damage, defects, or missing parts, please contact LC-Power customer support. Telephone technical support is also available.


